How to Build a React App with Ruby on Rails
In this post we will look at setting up a new ruby on rails project from scratch with the webpacker gem to use react. We will create our own custom hello world app, and even look a little into routing with react-router.
There are 2 fairly popular ways I know of that you can use to build a react app with ruby on rails. The first is to create 2 separate applications; a react front end app, and a separate rails api for your backend. Then you can simply make api requests from your front-end react app to your back-end rails api.
The second approach is to try to build everything in one app. There are a few different ruby gems that try to tackle this, like the react-rails gem, and the react-on-rails gem. However, as of ~rails 5.2 there is an additional option that allows us to build everything housed in a single application, using the webpacker gem. In this article, we are going to take a look at this approach, and build a simple hello world ruby on rails + react app from scratch.
Getting Started
First things first, let's create a new rails app from our console. However, when we do this we are going to add the webpack flag and set it to react. This is going to configure our rails app to use webpack with react right out of the gate:
rails new react-app --webpack=reactThe rails webpacker install command should run automatically during setup, but if it doesn't for some reason, you may also need to run the following:
bundle exec rails webpacker:install:reactOnce this is done setting up, cd into and open up your new rails app. You should see a javascript folder inside of the app directory.
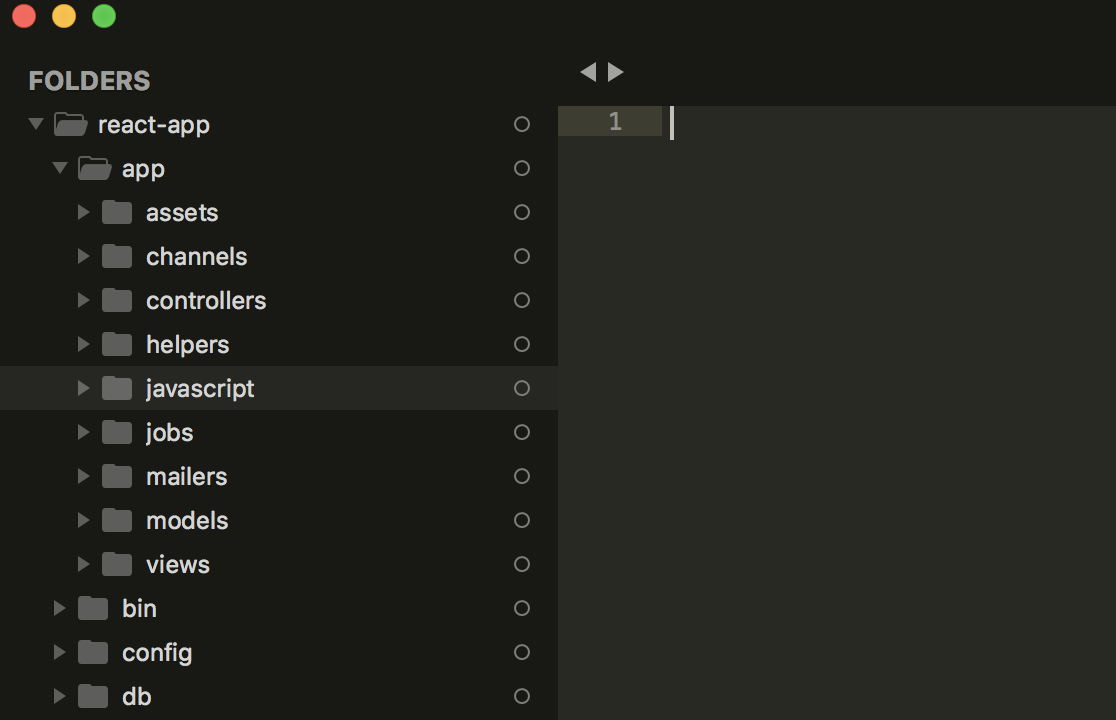
Inside of here is a packs folder that contains some default files, including a small hello world example that has kindly been built for us in React:
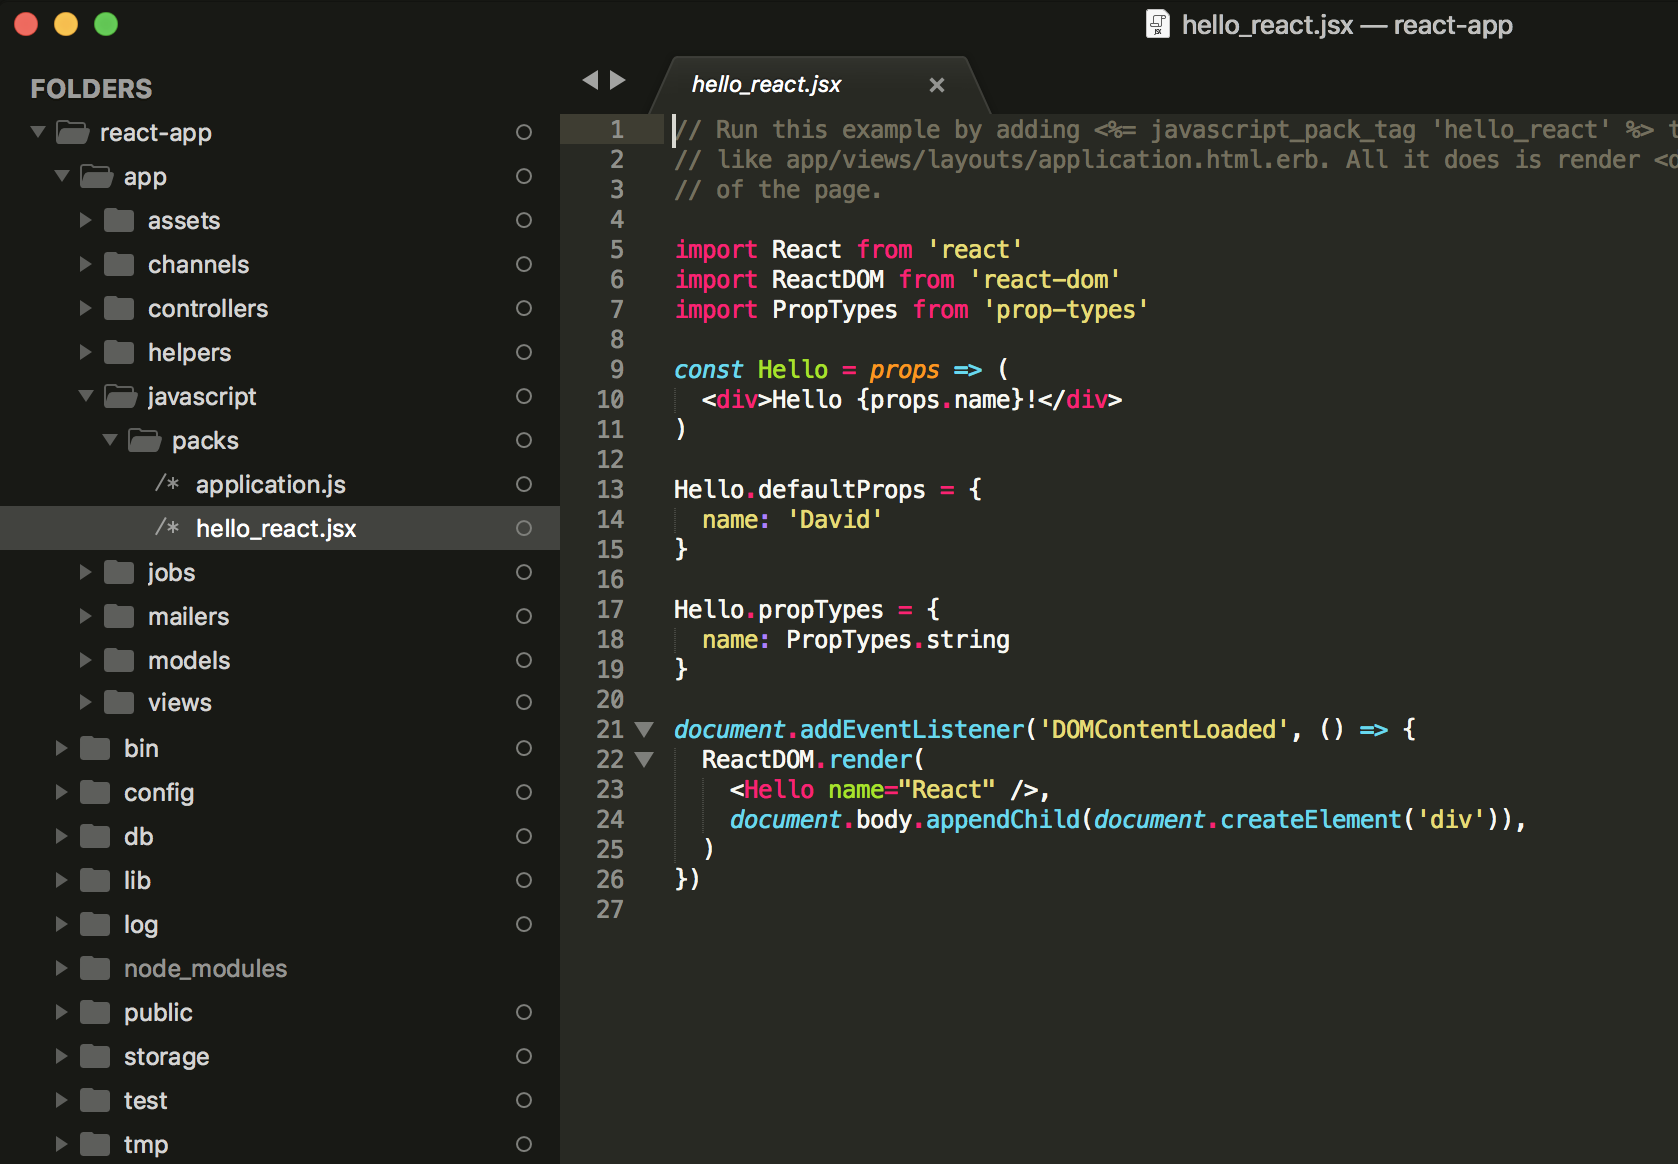
This is great, but if we try to fire up our server and view this, nothing is going to happen yet. This is for a couple reasons. Mainly, we don't have a root path yet. On top of this, we aren't actually injecting our code from our javascript folder into our rails views yet. So let's fix that!
First things first, let's create a quick root path. We can use a generator from our terminal to quickly spin up a pages controller with an index method and view:
rails g controller pages index
Now, in our routes.rb file we can go ahead and set this up as our root path:
root 'pages#index'
Now, we can go ahead and inject the hello world react code from inside of javascript/packs/hello_react.jsx into our views. In order to do this, we just need to add the javascript_pack_tag to our application.html.erb file (do this if you want this javascript to be loaded site wide) or into our root path (if you only want it to load on that page):
<%= javascript_pack_tag 'hello_react' %>
Now, if you fire up your server (rails s) and navigate to localhost:3000, you should see the Hello React message loading into the page!
Create Your Own Components
This is a great start, but now how do you go from the Hello React demo they gave you to actually building your own react app with your own components?
Let's start by creating a components folder inside of our javascript folder:
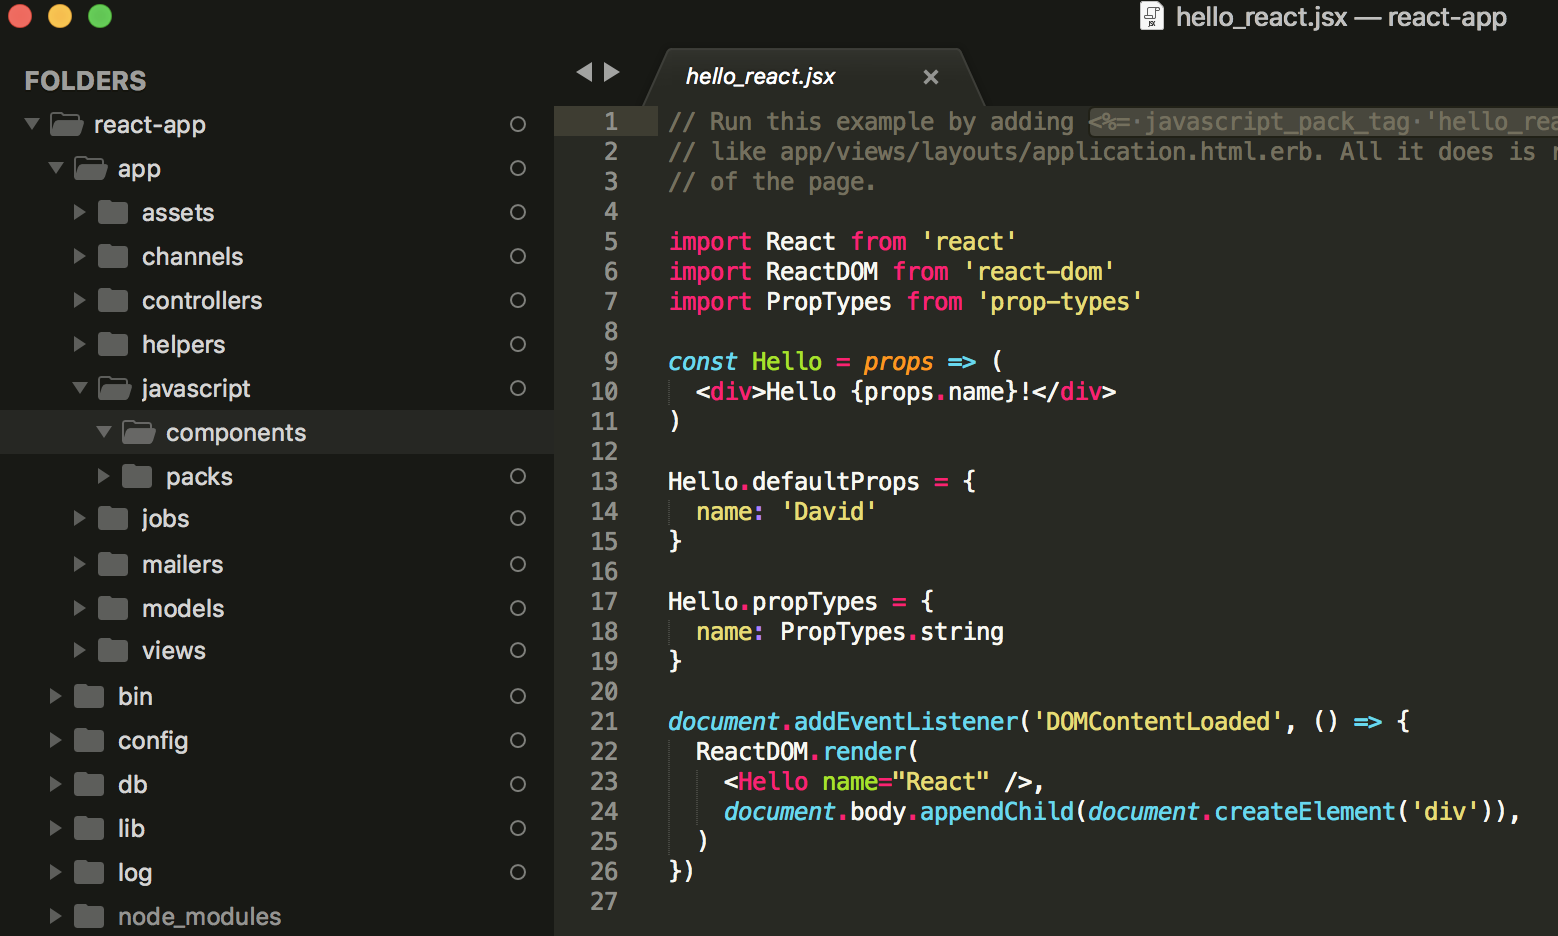
Then, inside of our components folder let's create a new App.js file. Then let's add our first bit of react code to this file:
import React, {Component} from 'react'

class App extends Component {
  render() {
    return (
      <div>This is my new app!</div>
    )
  }
}

export default App
If we wanted, we could probably simplify this down to be something like this:
const App = () => {
  return <div>This is my new app!</div>
}

export default App
Now, with this we can go ahead and import our new component from our components folder back into our javscript/packs/hello_react.jsx file. In fact, at this point I'm just going to go ahead and rename this to index.js and remove the hello world example they gave us. After doing this, my javascript/packs/index.js file will look like this:
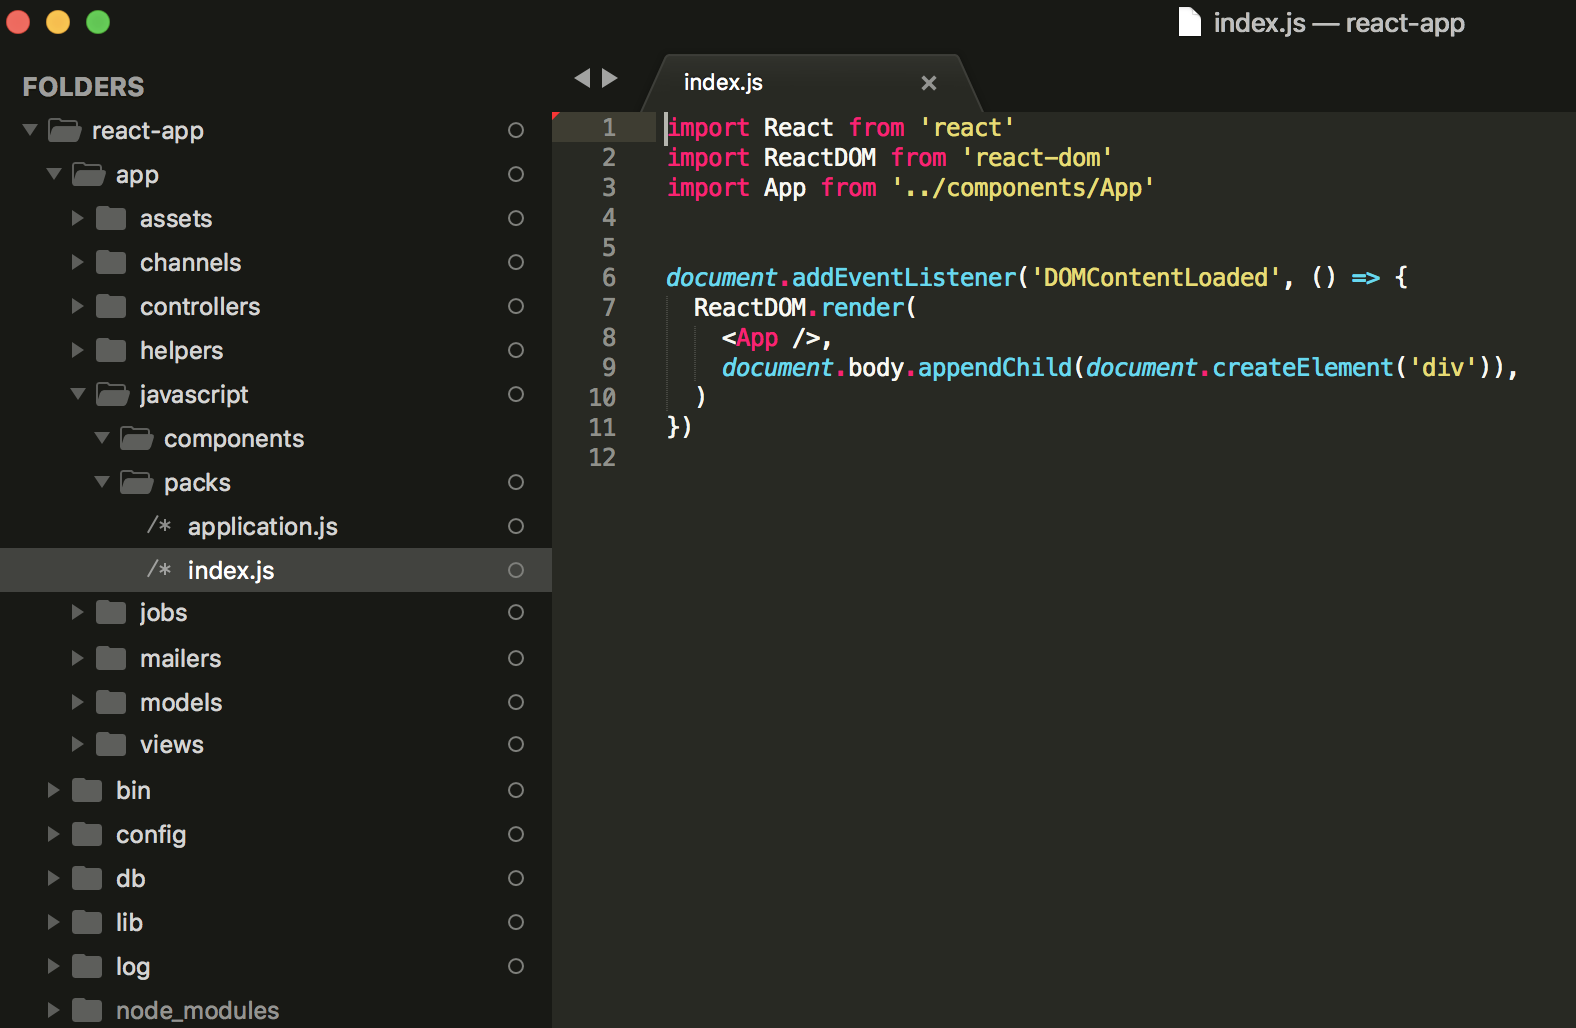
Notice that I changed what is inside of ReactDOM.render from the hello world example to now be our app component. So previously in the default example this code was:
document.addEventListener('DOMContentLoaded', () => {
  ReactDOM.render(
    <Hello name="React" />,
    document.body.appendChild(document.createElement('div')),
  )
})
But now that we have brought in our own app component, this can now be:
document.addEventListener('DOMContentLoaded', () => {
  ReactDOM.render(
    <App/>,
    document.body.appendChild(document.createElement('div')),
  )
})
Note that I renamed this file from hello_react.jsx to index.js. You don't have to do this, but if you did this along with me, we need to update the javascript_pack_tag we added into our rails views to match. Change that from this:
<%= javascript_pack_tag 'hello_react' %>
To this:
<%= javascript_pack_tag 'index' %>
Now, if you start your rails server and navigate to localhost:3000 in your browser, you should see the content from our new custom component getting rendered out to the page!
P.S. you can open another tab in your terminal and run this to add real-time reloading:
./bin/webpack-dev-serverHopefully that's enough to help you get started. If you don't like to read, I created 2 brief videos you can check out below instead. The first one basically covers what we just covered, the second goes a little further and looks at implementing react-router into your project. Check them out!
Video: Build a React App With Ruby on Rails
I made a short video looking at how you can spin up a brand new react + rails app using the webpacker gem in about 7 minutes:
How do you handle routing?
One thing that isn't immediately clear when building your app this way is how you would go about handling routing. Here is a second video I put together with some ideas for that, playing around with react-router:
Conclussion
There are definitely some benefits that come with intentionally separating your frontend and backend apps. That being said, I've been finding it to be super easy and pretty fun lately to spin up new rails projects with the webpacker gem and have everything living under one hood.